


.jpg)


Case Study 1 - Bath University Drainage - Rock Drilling
| Project Name | Bath University - East Building Major Upgrade |
| Client | Cowlin - A Balfour Beatty Company |
| Requirements | 340m of 355mm and 250mm gravity sewer @ 3-5m Depth, in Hard Limestone |
| Distance | Approximately 340 linear meters |
| Crossing | University property, Car Parks, Access Roads and contaminated land |
| Drilling Requirement | 40m of 355mm @ 1:200 decline, 300m of 250mm @ 1:200 decline |
| Constraints | Limited site access, very hard Limestone |
| Ground Conditions | Very hard Limestone - "All Terrain" Rock Drill Used |
| Installation time | 30 working days (8am - 5pm) |
Design
SW Directional Drilling were invited by Cowlin to design a Directional Drilling solution for a deep drainage system at Bath University. The drainage being installed was to be 355mm and 250mm at tight inclines of 1:200 and in very, very hard Limestone. After a site meeting to inspect the ground conditions and look at the constraints of the area it was suggested that an "All Terrain" Rock Drill should be used to guarantee steering in the tough ground. Cowlin accepted this method and a program was put together based on an estimated 8 week schedule (due to the >200mPa Rock).
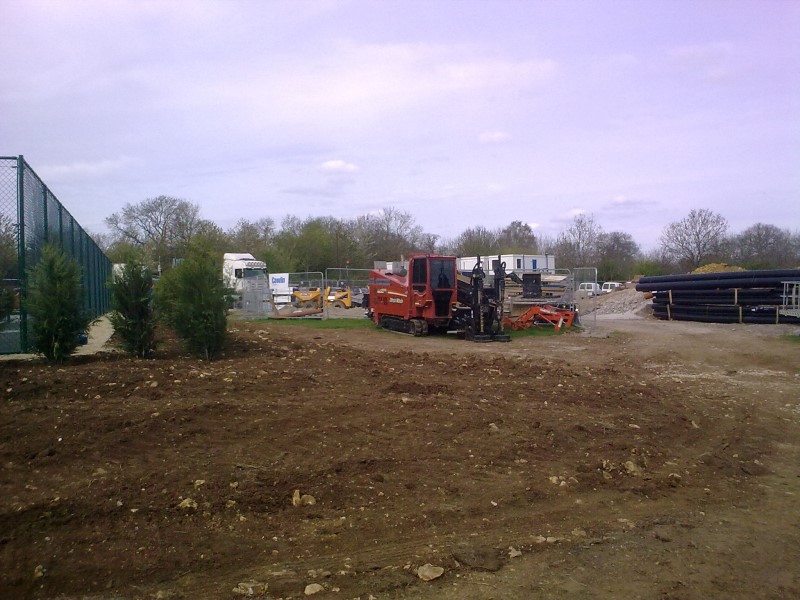
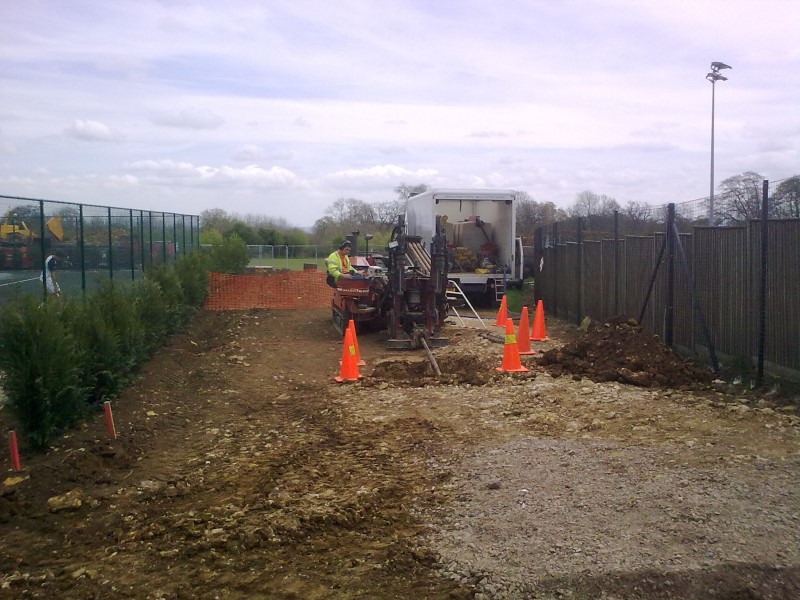
Mobilisation, Setup and Pilot Drill
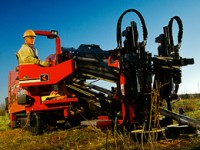
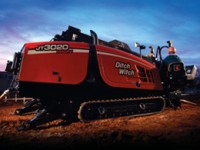
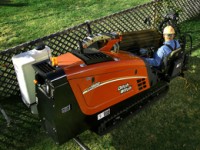
SWDD made the long journey to site, mobiilising the "All Terrain" Ditchwitch JT3020 Rock drill and arrived early on the Monday morning. By lunchtime the drill was set up, in the ground and making it's way to the start manhole of the first installation. The grade and set-back were calculated exactly to ensure that the drill hit the manhole excavation at the correct depth (3m) and almost level. From here the level and grade were set exactly, with SWDD's equipment sensitive enough to detect 0.1% increments (or 1:1000). From here on SWDD were good to go and set about starting the pilot drill. The ground conditions we're very tough (as expected) but well within the "All Terrain" machines scope, it was going to be a slow process as you just have to let it do it's thing. It took approximately three full days to carry out the 100m x 125mm pilot drill, with the 30m set back. This process involved checking the grade indication from the sonde every metre, the sonde is very high tech kit which feeds back drill information like pitch, roll, depth and temperature among others. The grade was monitored to maintain 0.5% (1:200) and the depth readings were compared to the indicated depths which had been pre marked on the surface. As always there are some minor depth discrepancies (depth which has a 5% accuracy isn't as accurate as grade, with it's 0.1% but it's a good confidence check) but providing the grade is fairly constant the reaming process evens it all out for a smooth installation.
Reaming
By day four the drill was at the reception manhole and the depth checked, which was within 50mm, more than acceptable. The drill was removed and the 300mm reamer fitted. Reaming is a process which enlarges the bore in stages, the larger the pipe, the more reaming. Surprisingly reaming went quicker than expected, with the pilot drill weakening the rock sufficiently for it to break up fairly quickly. By the end of day 5 the 300mm reamer was back near the start manhole, at this point the rock reamer was removed and a more "rounded" reamer put on to send back down the bore to the reception manhole. Rock reamers are very expensive and don't take too kindly to being pushed forward so this is a necessary step. The Rounded reamer "flew" down the bore, with the machine hardly even noticing it was connected. Once at the reception manhole the 300mm reamer was switched for a 400mm and the process repeated, this took a further day and a half (larger diameter, longer time).
Pipe Installation
By the end of day seven the pipe was ready to be pulled in, the HDPE 250mm pipe having been previously welded in 12m sections and strung out across the university field. With only two hours left on shift it was decided there wasn't much to gain and a lot to loose by trying to rush the process through so SWDD waited until day 8 to pull the pipe in. We started at 8am and it was installed by 9am so maybe we could have done it the night before, but there's no reason to take the chance. By lunchtime the drill was back in the ground starting the second installation.
Remaining Installations
The remaining three installations went pretty much the way of the first, all to plan. The process was fairly slow by HDD standards, but this is always the case with rock drilling, you've just got to take your time and let the machine do it's job. All in all the works were complete within 6 weeks, from depths of 3-5m in very hard rock. The HDD cost ended up being 1/2 the price of the open cut method, a quarter of the duration and less than 20% of the disruption, which is undeniably impressive.